|
|
|
 |
|
|
|
|
|
|
|
|
|
|
|
|
|
|
>> |
|
>> |
|
>> |
|
>>
|
|
>> |
|
>>
|
|
>> |
|
>> |
|
>>
|
|
>>
|
|
>> |
|
>>
|
|
>> |
|
>>
|
|
>>
|
|
>> |
|
>>
|
|
>> |
|
>> |
|
>> |
|
>>
|
|
>> |
|
>> |
|
>> |
|
>> |
|
>> |
|
>> |
|
>>
|
|
|
| |
|
|
 |
|
|
|
|
|
|
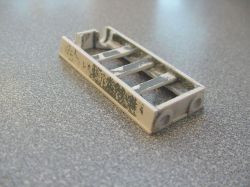
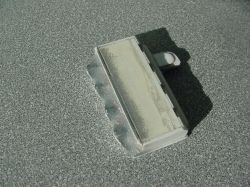
| Beginning of the head construction. (Bottom) |
|
|
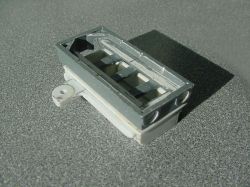
| Beginning of the head construction. (Top) |
|
|
| Header flange. |
|
|
|
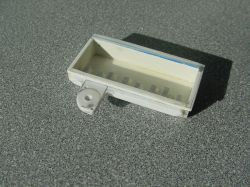
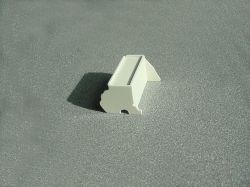
| Lower portion of head with coolant filler neck. |
|
|
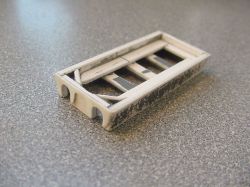
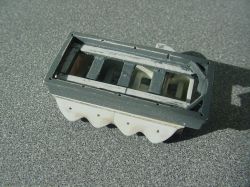
| Bottom view, note sculpted intake area. |
|
|
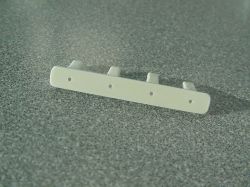
| I added locating tabs to the upper section to make it fit positively to the lower part. |
|
|
|
| Right side. |
|
|
| Here are the beginnings of the basic block, more sheet styrene⦠This will be the front. |
|
|
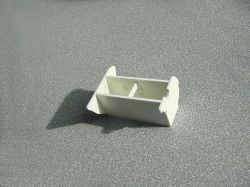
| Here is the bottom. |
|
|
|
|
|