|
|
|
 |
|
|
|
|
|
|
|
|
|
|
|
|
|
|
>> |
|
>> |
|
>> |
|
>> |
|
>> |
|
>> |
|
>> |
|
>> |
|
>> |
|
>> |
|
>> |
|
>> |
|
>> |
|
>> |
|
>> |
|
>> |
|
>> |
|
>> |
|
>> |
|
>> |
|
>> |
|
>> |
|
>> |
|
>> |
|
>> |
|
>> |
|
>> |
|
>> |
|
>> |
|
|
| |
|
|
 |
|
|
|
|
|
|
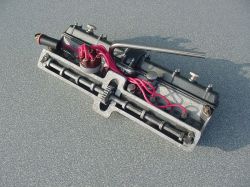
| It has two cams that will not be seen once it is assembled, one still exposed here |
|
|
|
|
|
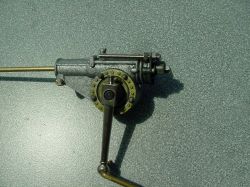
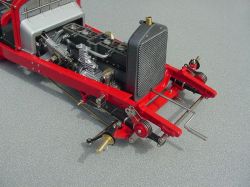
| Here is the steering box |
|
|
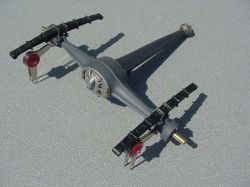
| Here is the differential and rear spring assembly. Again with the Faux Fabrix texturing... |
|
|
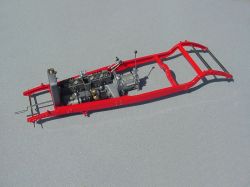
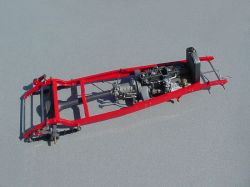
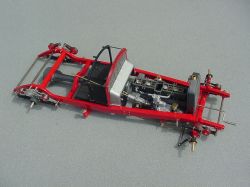
| The engine installed in the frame |
|
|
|
| The rear end installed... |
|
|
| The front suspension... |
|
|
| Mounting the firewall and floor.... |
|
|
|
|
|